
Running Airflow in WSL but Using MySQL Server from Windows as Default
Introduction
There are lots of benefit of using MySQL as a backend database in Airflow. Main reason is that MySQL is widely used in production instead of SQlite. Also, we can have scalable database system where we can have concurrent requests, high security and well defined permission and roles.
From the last few blogs, I’ve share how can we fully schedule DAGs written in Windows Machine from WSL. And we were using default Database, SQlite on those blogs but later we did connect to MySQL running in Windows from WSL. But in this blog, we will do clean install of Airflow in WSL and we will use MySQL as a Database. This blog is related to some of the previous blogs in some way but it is not required to go there.
- Running Airflow in WSL and Getting Started with it
- Dynamic Tasks in Airflow
- Connecting MySQL Running in Windows from WSL
- Branching Task in Airflow
Installing WSL
Using airflow in Windows machine is hard way to go but with the use of Docker one can do it easily. But I am using Ubuntu in WSL (Windows Subsystem for Linux) to use Airflow in my Windows.
Installing Airflow
(Referenced from here.)
- Open the Ubuntu.
- Update system packages.
sudo apt update sudo apt upgrade - Installing PIP.
sudo apt-get install software-properties-common sudo apt-add-repository universe sudo apt-get update sudo apt-get install python-setuptools sudo apt install python3-pip - Run
sudo nano /etc/wsl.confthen, insert the block below, save and exit withctrl+sctrl+x[automount] root = / options = "metadata" -
To setup a airflow home, first make sure where to install it. Run
nano ~/.bashrc, insert the line below, save and exit withctrl+sctrl+xexport AIRFLOW_HOME=c/users/YOURNAME/airflowhomeMine is,
/mnt/c/users/dell/myName/documents/airflow - Install virtualenv to create environment.
sudo apt install python3-virtualenv - Create and activate environment.
virtualenv airflow_env source airflow_env/bin/activate - Install airflow
pip install apache-airflow - Make sure if Airflow is installed properly.
airflow infoIf no error pops up, proceed else install missing packages.
Making Connection to MySQL Running in Windows From WSL
MySQL Client in WSL
First install MySQL client in WSL using below command which can be seen once we type mysql in WSL terminal.
sudo apt install mysql-client-core-8.0     # version 8.0.27-0ubuntu0.20.04.1, or
sudo apt install mariadb-client-core-10.3  # version 1:10.3.31-0ubuntu0.20.04.1
For me, I did first one.
Find IPv4 Address of WSL
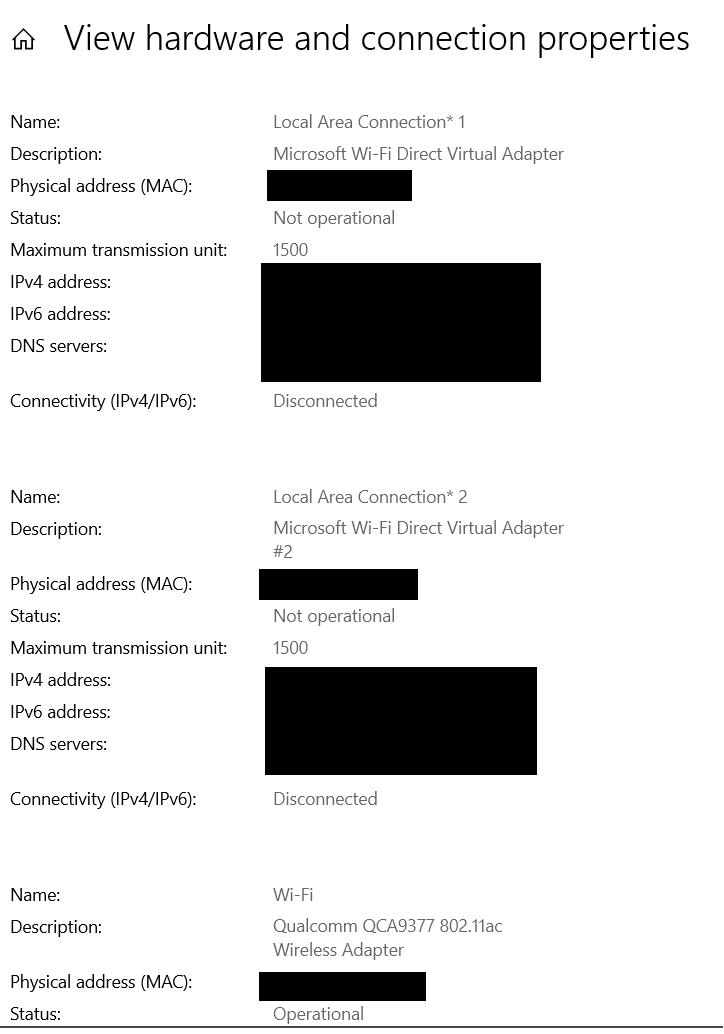
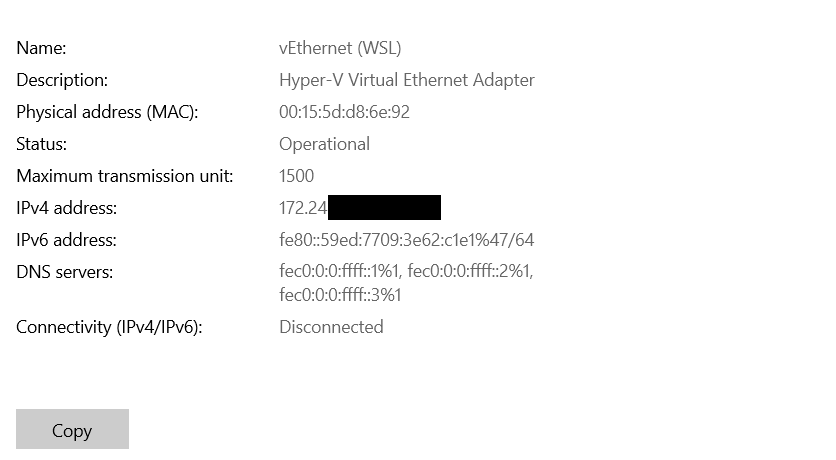
- Go to Settings -> Network and Internet -> Status -> View Hardware and connection properties. Look for the name vEthernet (WSL). It will usually be on the bottom.
- My looks like below. But I’ve shaded the addresses.
Now try to connect to MySQL from WSL using below command:
mysql -u wsl_root -p -h 172.24.xxx.xxx
Please remember that in above command xxx is just a placeholder. Also, root is just a username that we tried to login with. We will get an error right now with above command and we will fix it.
Making New User in MySQL to make a Call from WSL
CREATE USER 'wsl_root'@'localhost' IDENTIFIED BY 'password';
GRANT ALL PRIVILEGES ON *.* TO 'wsl_root'@'localhost' WITH GRANT OPTION;
CREATE USER 'wsl_root'@'%' IDENTIFIED BY 'password';
GRANT ALL PRIVILEGES ON *.* TO 'wsl_root'@'%' WITH GRANT OPTION;
FLUSH PRIVILEGES;
In above query,
wsl_rootis a name of user that we will use from WSL.localhostis a address where MySQL is andpasswordis password. :)- We have granted all privileges to that user and it will be just another admin.
From WSL
Now running the command mysql -u wsl_root -p -h 172.24.xxx.xxx and giving password after it asked, we could connect to the MySQL server.
References
Install MySQL Connector
Now we need to install MySQL Connection Provider for Airflow as:
pip install apache-airflow-providers-mysql
If error pops up, it might be because of our MySQL client’s version. The fix in that case (from here):
- For Debian 8 or older,
sudo apt-get install libmysqlclient-dev
- For Debian > 8
sudo apt-get install default-libmysqlclient-dev
Creating Airflow Database
Now, lets go to our MySQL Workbench in Windows side and run below queries to setup our MySQL database:
CREATE DATABASE airflow_db CHARACTER SET utf8mb4 COLLATE utf8mb4_unicode_ci;
CREATE USER 'airflow_user' IDENTIFIED BY 'airflow_pass';
GRANT ALL PRIVILEGES ON airflow_db.* TO 'airflow_user';
In above code, we are creating a database airflow_db and also created user as airflow_user and granted all privileges.
Initializing Database,
First we need to edit our Airflow’s configuration file. We should change the value of sql_alchemy_conn in airflow.cfg. This file is located at Airflow’s home directory.
sql_alchemy_conn = mysql+mysqldb://wsl_root:password@my_ip:3306/airflow_db
Please change my_ip by the IPv4 Address we found in above step.
Now from WSL, do airflow db init. If no error pops up, we are good to go.
-
If a error comes saying “Operation is not Permitted” make sure you have write access to the $AIRFLOW_HOME folder from WSL. So do something like below:
sudo chmod -R 777 /mnt/c/Users/Dell/Documents/airflow/ -
Create airflow user.
  airflow users create [-h] -e EMAIL -f FIRSTNAME -l LASTNAME [-p PASSWORD] -r
                       ROLE [--use-random-password] -u USERNAME
Run Webserver and Scheduler
Now lets open another Ubuntu terminal and run airflow webserver in it. Also run airflow scheduler in another terminal.
Next, open the Airflow’s Web URl which must be http://localhost:8080 then sigin using the credentials that we just created in above step. If it works, we could try scheduling some of example DAGs shown there. And those should be running without any errors.
If we head over to the Workbench, we can see the tables being created and populated in airflow_db.
Thank you for your time.


Comments